
Wall Push-Up

Video Demo, Instructions, Proper Form Tips, Common Mistakes, Benefits and FAQs
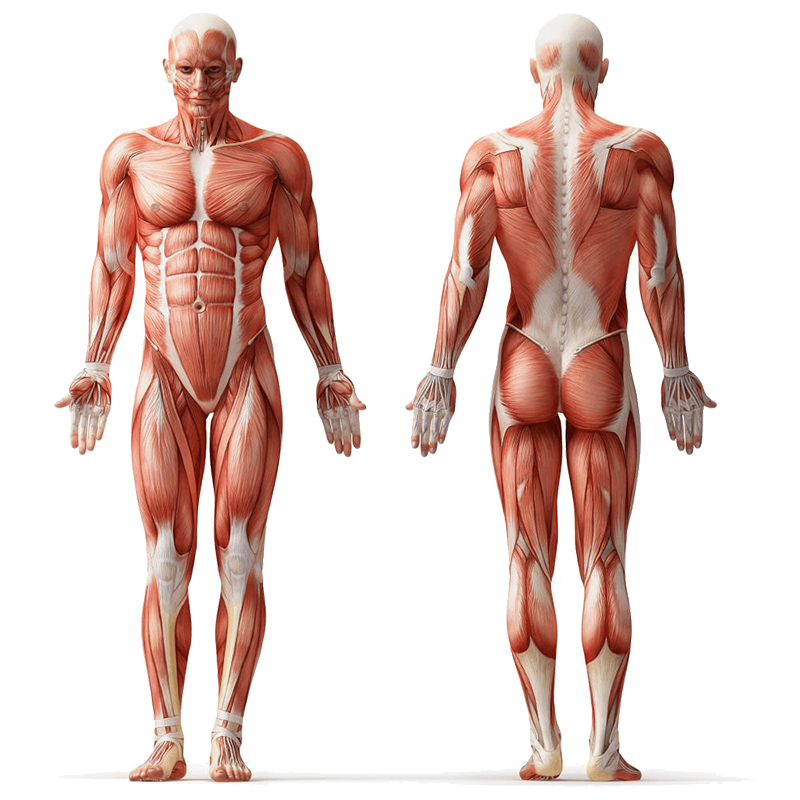
Exercise Profile

Target Muscles:

Chest

Secondary Muscles:

Shoulders, Triceps, Core

Exercise Type:

Strength

Equipment:

Bodyweight

Difficulty:

Beginner

Mechanics:

Compound
Muscle Anatomy

The Wall Push-Up is one of the simplest and most accessible variations of the push-up, designed for beginners, seniors, or anyone needing a low-impact upper-body strength exercise. Unlike traditional push-ups performed on the floor, wall push-ups are done standing and leaning against a wall, which reduces the amount of body weight being lifted. This makes it easier on the wrists, shoulders, and lower back while still effectively targeting the chest, shoulders, triceps, and core. It’s also a fantastic rehabilitation or introductory exercise to build confidence and strength before progressing to more challenging push-up variations.

Wall push-ups are perfect for home workouts, office breaks, or as part of a warm-up routine. They require no equipment other than a sturdy wall, making them an accessible exercise for anyone. Despite being easier than floor push-ups, wall push-ups still provide significant benefits, including improved muscle endurance, posture, and upper-body stability.

Safety Considerations

When performing wall push-ups, it’s important to ensure the wall you’re using is sturdy and flat. Avoid slippery surfaces to prevent slipping. Keep movements slow and controlled rather than rushing through reps. Maintain proper alignment from head to heels to avoid unnecessary strain on the lower back or shoulders. People with shoulder or wrist injuries should perform with caution or consult a professional before starting.

Note: Consult a fitness professional or healthcare provider if you have pre-existing conditions or experience discomfort during the exercise.

Step-by-Step Instructions

Here’s how to perform Wall Push-Ups correctly:

  1. Stand facing a wall at about arm’s length away.
  2. Place your palms flat on the wall at shoulder height and shoulder-width apart.
  3. Step feet back slightly so your body leans into the wall at an angle.
  4. Engage your core and keep your body in a straight line from head to heels.
  5. Bend your elbows slowly, bringing your chest toward the wall.
  6. Pause briefly when your chest is close to the wall.
  7. Push through your palms to straighten arms and return to the starting position.
  8. Repeat for the desired number of reps.

Tips for Proper Form

Keep these tips in mind for the best results:

  • Keep your elbows at about a 45-degree angle from your torso.
  • Maintain a straight body line without sagging hips.
  • Press evenly through both hands during the push.
  • Breathe in as you lower, breathe out as you push back.
  • Keep shoulders down and relaxed—don’t shrug upward.
  • Start at a comfortable angle and adjust foot distance for difficulty.

Common Mistakes to Avoid

Avoid these frequent mistakes:

  • Standing too close to the wall, reducing range of motion.
  • Allowing hips to sag or back to arch.
  • Flaring elbows too wide, straining shoulders.
  • Pushing off with uneven pressure from each hand.
  • Rushing through reps without control.
  • Holding breath instead of steady breathing.

Primary Benefits

Wall Push-Ups provide multiple benefits:

  • Strengthen chest, shoulders, and triceps.
  • Engage core for improved stability and posture.
  • Beginner-friendly and low-impact on joints.
  • Require no equipment—just a wall.
  • Improve endurance for more advanced push-up variations.
  • Suitable for rehabilitation or warm-up routines.

Regressions

If even wall push-ups feel challenging, try:

  • Standing closer to the wall for a smaller angle.
  • Reducing range of motion until stronger.
  • Performing single-arm wall presses for partial strength training.
  • Practicing static wall holds with elbows bent.

Progressions

To make wall push-ups harder, try:

  • Stepping feet farther back for a steeper angle.
  • Performing on fingertips or fists for wrist strength.
  • Adding a pause at the bottom for time under tension.
  • Progressing to incline push-ups against a bench or countertop.

Summary

The Wall Push-Up is a beginner-friendly strength exercise that effectively works the chest, shoulders, triceps, and core with minimal strain. It’s accessible, joint-friendly, and adaptable, making it perfect for beginners, rehabilitation, or as a warm-up. With regressions for absolute beginners and progressions for those ready to advance, wall push-ups are a foundational move to build strength and confidence for more challenging push-up variations.

FAQs

Here are common questions about Wall Push-Ups:

What muscles do wall push-ups target?

Mainly the chest, with shoulders, triceps, and core as supporting muscles.

Are wall push-ups good for beginners?

Yes, they’re one of the easiest push-up variations and ideal for learning form.

How many wall push-ups should I do?

Start with 8–12 reps for 2–3 sets and progress gradually.

Can wall push-ups build muscle?

They build endurance and foundational strength, but more resistance is needed for significant muscle growth.

Are they safe for people with joint issues?

Yes, they’re gentle on wrists and shoulders compared to floor push-ups.

How do I progress after wall push-ups?

Move to incline push-ups or knee push-ups as the next step.

Disclaimer: It’s important to keep in mind that not all exercises are suitable for everyone. Before trying out a new exercise, it’s crucial to consider factors such as your flexibility, strength, and overall health to determine whether or not the exercise is appropriate for you. Like any exercise, there is inherent danger associated with it and it can potentially cause personal injury. It’s solely the responsibility of the exerciser to bear any injury sustained from the proper or improper use of this exercise. World Fitness.Online and its partners cannot be held liable for any injury that occurs as a result of using this exercise and it’s strongly advised that you seek guidance from a professional healthcare provider before attempting any exercise or exercise program.
Facebook
Twitter
LinkedIn
Scroll to Top