The Stability Ball Rollout, also known as the Swiss Ball Rollout, Kneeling Swiss Ball Rollout, Stability Ball Ab Rollout, or Yoga Ball Kneeling Rollout, is a strength-focused, compound core exercise that blends reach, control, and anti-extension strength. From your knees, you gradually roll the ball forward with your forearms or hands while keeping your ribs tucked and hips aligned, which teaches your trunk to resist arching.
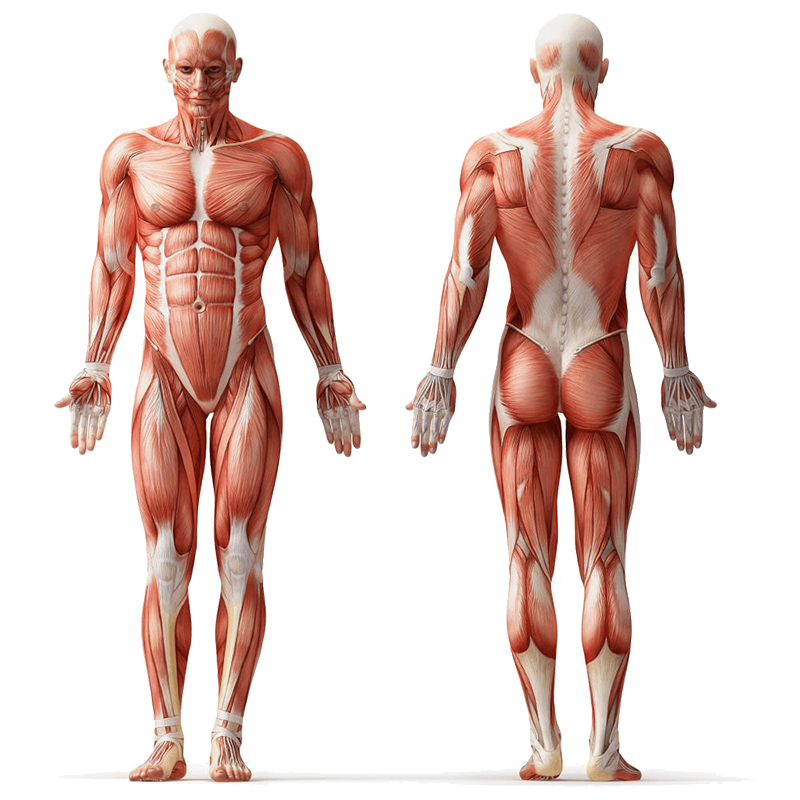
This movement primarily targets the Core and Abdominals, with strong support from the Obliques and Serratus Anterior, and helpful engagement from the Shoulders, Chest, Lats, Triceps, and Hip Flexors to stabilize the shoulder girdle and pelvis. All you need is a stability ball and a mat, making this a convenient option for the gym or home. It suits motivated beginners who can brace well, and scales beautifully for intermediate and advanced lifters by adjusting rollout distance and tempo. Beyond visible midline strength, the rollout builds functional anti-extension capacity that supports lifting technique and posture in daily life.
Safety Considerations
Before you roll, set yourself up for success with a smart environment and body prep so your core does the work, not your lower back.
- Warm up with light spinal mobility, hip flexor stretches, and a few rounds of plank breathing to cue rib-to-hip control.
- Select a ball size that lets you keep a neutral spine. Larger balls feel easier and smaller balls increase the challenge.
- Use a non-slip mat and clear floor space so the ball can glide without hitting objects.
- Keep your gaze slightly ahead of the ball to maintain a long neck and neutral head.
- Stop the rollout the moment your hips begin to sag or your low back starts to arch. This protects the lumbar area from excessive extension.
- If you have a history of acute low back pain, start with very short ranges and emphasize bracing, or choose a regression first. Exercise balls are commonly used for graded stability work, but always prioritize comfort and control.
Note: Consult a fitness professional or healthcare provider if you have pre-existing conditions or experience discomfort during the exercise.
Step-by-Step Instructions
Follow these cues at a calm pace, focusing on smooth movement and steady breathing.
- Kneel on a mat with the stability ball in front of you. Place your forearms on top of the ball with elbows under shoulders, palms down, and knees about hip width. Brace your midsection gently as if preparing for a light cough.
- Create a straight line from head to knees by tucking ribs toward hips and lightly squeezing glutes. Think of pulling the front of your pelvis up to avoid arching.
- Inhale through your nose to set your brace. As you exhale, slowly extend your arms and allow the ball to roll forward. Keep elbows softly bent and shoulders packed. Move only as far as you can maintain a flat back and level hips.
- At your end range, pause for 1 to 2 seconds while breathing quietly. Feel the Abdominals and Obliques resisting spinal extension.
- To return, exhale and pull the ball back under your shoulders using your lats and trunk, keeping ribs tucked. Avoid pushing your hips back too early.
- Reset your brace and repeat for the desired reps, stopping each set as soon as you feel low-back arching or shoulder shrugging.
Tips for Proper Form
Use these refinements to feel the exercise exactly where you want it.
- Think anti-extension. Your goal is to keep the torso from arching while the arms reach, not to move the ball the farthest.
- Choose the right contact point. Forearms on the ball are friendlier for beginners, while hands on the ball increases lever length and difficulty.
- Use shorter ranges first. Add a few centimeters of distance each week as your control improves.
- Keep your glutes lightly engaged to help align the pelvis and protect the lumbar spine.
- Breathe low and quiet. Exhale as you roll out to boost bracing, then sip air at end range without losing position.
- Pick a larger ball if you are new to the move to make the angle less steep and easier to control.
- If your shoulders feel strained, reduce range and think of pulling the shoulder blades down and wide as you roll back.
Common Mistakes to Avoid
These errors shift tension away from the core and into joints you are trying to protect.
- Letting the low back arch at end range. Solution: shorten range and brace before you move.
- Leading with the hips instead of the trunk, which turns the move into a rocking pattern. Solution: keep hips level and move the ball from shoulder reach.
- Shrugging the shoulders toward the ears. Solution: pack the shoulders and think armpits toward hips while rolling back.
- Going too fast. Solution: use a slow 2 to 3 second roll out, brief pause, and controlled return.
- Using a ball that is too small too soon. Solution: start larger, then size down as control improves.
- Training through pain. Solution: regress immediately or switch to planks and dead bug variations before attempting longer rollouts.
Primary Benefits
The rollout pays dividends across lifting, sport, and daily posture.
- High activation of Abdominals and Obliques for strong anti-extension control.
- Better trunk stiffness for safer squats, deadlifts, and overhead presses.
- Shoulder and scapular stability via isometric support from Lats, Serratus Anterior, and Triceps.
- Improved posture through rib cage and pelvis alignment practice.
- Scalable challenge with easy adjustments in ball size, range, tempo, and arm leverage.
- Accessible equipment that fits home or clinic settings, with exercise balls widely used in spine friendly stability training.
Regressions
Build capacity step by step with these beginner-friendly options.
- Short-range forearm rollouts, stopping when elbows pass slightly beyond shoulders.
- Plank on ball with forearms supported, no rolling, just holds for time.
- Hands-on-ball prayer stretch pulses with light bracing to rehearse hip and rib control.
- Tall-kneeling front plank on the floor, then on a bench for elevated leverage.
- Dead bug with exhale emphasis to engrain rib-to-hip positioning.
- Use a larger ball to reduce the angle and make balance easier.
Progressions
When form is solid, turn up the challenge gradually.
- Hands-on-ball rollouts from knees to increase lever length and demand.
- Tempo rollouts with 3 to 5 second eccentrics and 1 to 2 second pauses at end range.
- Partial to full range, then extend into longer reaches over time.
- Ab wheel rollouts from knees as a related but more demanding lever.
- Stability ball pike variations after mastering rollouts for another intense abdominal challenge.
- Offset kneeling or single-arm reaches to introduce anti-rotation demands.
Summary
The Stability Ball Rollout is a scalable, equipment-light core drill that teaches the trunk to resist extension while the arms reach forward. It emphasizes the Abdominals and Obliques with helpful support from the Serratus Anterior, Lats, Shoulders, and Triceps, and it can be tailored by ball size, range, and tempo. Keep ribs tucked, hips level, and the lower back neutral, use a controlled distance, and stop before form slips. With consistent practice, you will gain a stronger, steadier midline that supports better lifting mechanics and everyday posture.
FAQs
Quick answers to common questions help you train with confidence.
Is the Stability Ball Rollout good for beginners?
Yes, if you can hold a solid kneeling plank and brace well. Start with short-range forearm rollouts and a larger ball to make it easier.
What muscles does it work the most?
Primarily the Abdominals and Obliques, with assistance from Serratus Anterior, Lats, Chest, Shoulders, and Triceps to stabilize the shoulder complex.
How far should I roll out?
Only as far as you can keep a neutral spine and level hips. Range improves as your control improves. Stop if the lower back arches or hips sag.
How many sets and reps should I do?
Begin with 2 to 3 sets of 6 to 10 controlled reps. Quality comes first. Add distance or tempo before adding many reps.
Is it safe if I have a history of low back pain?
Use regressions and very short ranges. Exercise balls are common in back rehabilitation, but get guidance from a clinician before progressing.
What ball size should I choose?
Larger balls are more forgiving for learning. As strength and control improve, a smaller ball increases the challenge.