
Forearm Plank Jacks

Video Demo, Instructions, Proper Form Tips, Common Mistakes, Benefits and FAQs
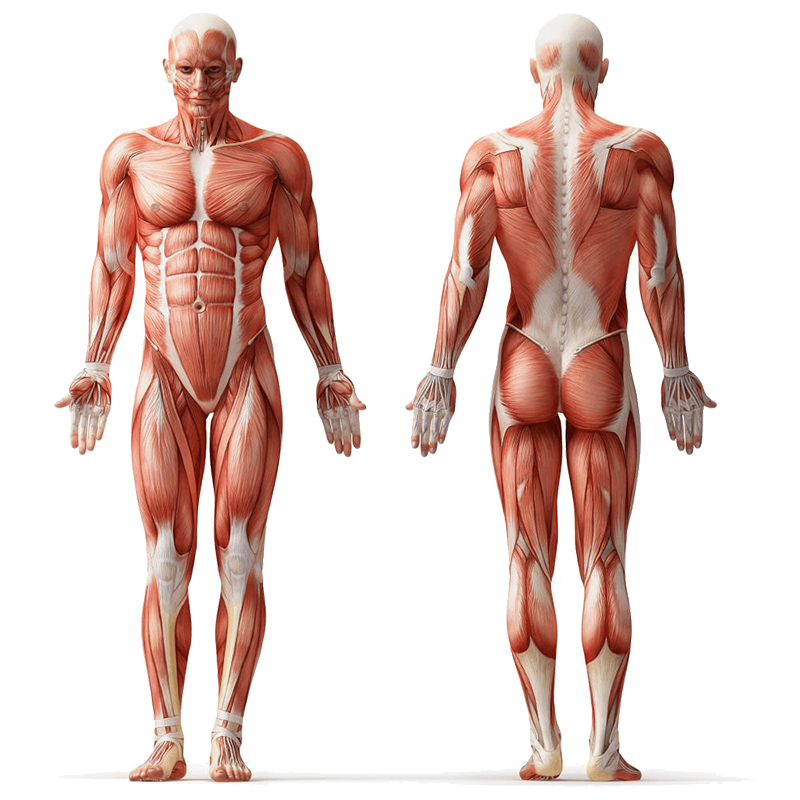
Exercise Profile

Target Muscles:

Abdominals, Obliques, Glutes

Secondary Muscles:

Shoulders, Chest, Triceps, Lower Back, Quadriceps

Exercise Type:

Strength, Cardio

Equipment:

Difficulty:

Beginner to Intermediate

Mechanics:

Compound
Muscle Anatomy

Forearm Plank Jacks—also known simply as plank jacks on forearms—turn a static strength plank into a cardio‑boosting, dynamic core move. This compound strength and cardio exercise challenges your abdominals and obliques as you stabilize on your forearms and jump your legs in and out, while your glutes help control hip movement. At the same time your shoulders, chest, triceps, lower back, and quadriceps assist with stabilization. It uses only your body weight, and is approachable for beginners with simpler versions, while higher pace makes it good for intermediate trainees.

Safety Considerations

Make sure you're on a stable, non‑slippery surface (like an exercise mat). Warm up your core, shoulders, and hips before starting—simple arm circles and hip swings work. Elbows should sit under shoulders, and your spine stays neutral. If you feel wrist strain, switch to forearm support. Stop if your hips sag or if any pain arises in shoulders or lower back.

Note: Consult a fitness professional or healthcare provider if you have pre‑existing conditions or experience discomfort during the exercise

Step-by-Step Instructions

Follow these steps to perform a safe and effective forearm plank jack.

  1. Start in a forearm plank position: elbows under shoulders, forearms on the ground, and your body forming a straight line from head to heels.
  2. Engage your abs and squeeze your glutes, maintaining a flat back and neutral neck.
  3. Keeping your torso steady, jump both feet outward to the sides, like a horizontal jumping jack.
  4. Immediately jump your feet back together under your hips.
  5. Continue this in‑and‑out jumping motion while maintaining rigid posture.
  6. Perform for 10–20 seconds to begin, gradually extending time or increasing speed as your conditioning improves.

Tips for Proper Form

Keep these form cues in mind to maximize benefit and avoid injury:

  • Elbows directly beneath shoulders and forearms grounded.
  • Maintain a straight line from crown of head to heels.
  • Imagine pulling your belly button toward your spine to brace your core.
  • Keep hips level—don't let them rise or sag.
  • Land softly when your feet touch the ground to reduce impact.
  • Breathe steadily—avoid holding your breath during movement.
  • Keep your neck neutral—eyes looking slightly ahead, not craning up or dropping down.
  • Adjust jump width so it’s challenging but not jerky or unstable.

Common Mistakes to Avoid

Avoid these frequent errors:

  • Letting hips dip or arching lower back.
  • Allowing elbows to drift out ahead of shoulders.
  • Feet landing too wide or outside shoulder width, causing loss of control.
  • Holding your breath during the exercise.
  • Moving too fast and losing core engagement.
  • Straining your neck by looking forward/up or down.
  • Rushing into longer duration before mastering form.
  • Skipping warm‑up or cooling down afterwards.

Primary Benefits

This move offers multiple advantages beyond core strength:

  • Builds core endurance—works rectus abdominis, transverse abdominis, and obliques together.
  • Boosts cardiovascular intensity—raises heart rate within core training.
  • Improves shoulder and chest stabilization under load.
  • Strengthens glutes, lower back, and quads in support of hip and spine alignment.
  • Burns calories by combining static load with dynamic movement.
  • Enhances coordination and balance through lateral movement under tension.

Regressions

If the full variation is too intense, try these simpler versions:

  • Perform plank side taps—step one foot out at a time instead of jumping both simultaneously.
  • Begin with short holds, e.g. 5–10 seconds, before adding movement.
  • Drop knees to the floor while doing taps.
  • Hold a static forearm plank without leg movement until core strength builds.

Progressions

When you’re ready to advance, consider these options:

  • Increase duration to 30–60 seconds at a faster pace.
  • Perform from a high plank (on palms) instead of forearms.
  • Add resistance by wearing ankle weights or sliding feet on gliders.
  • Combine with other plank variations in circuits—like shoulder taps or hip dips.

Summary

Forearm Plank Jacks take the static forearm plank and build dynamic cardio and full‑body engagement into it, targeting your core, glutes, shoulders, chest, and lower body. With proper form—neutral spine, engaged abs, controlled leg jumps—they elevate both strength and calorie burn. Begin gradually, prioritize technique, and use regressions or progressions to match your level. This exercise blends stability training with cardio challenge, making it effective and functional for most fitness routines.

FAQs

Can beginners do forearm plank jacks?

Yes—start with short static plank holds or slow side taps, and gradually progress to jumping when core stability improves.

How long should I hold or perform forearm plank jacks?

Begin with 10–20 seconds per set; once comfortable, increase to 30–60 seconds or more, depending on your fitness level.

How often can I include this in my routine?

You can safely perform it 2–3 times per week—add it to core circuits, HIIT sessions, or as a finisher in your workout.

Is this safe if I have back pain?

If you have existing back issues, consult a healthcare provider. Keep your spine neutral, avoid sagging hips, and consider regressions first.

Can I use this exercise for cardio?

Yes—because it combines dynamic leg movement with core stabilization, it offers moderate to high intensity cardio benefits.

Should I breathe or hold my breath?

Always breathe steadily—inhale through your nose and exhale gently as you jump—don’t hold your breath during the exercise.

Disclaimer: It’s important to keep in mind that not all exercises are suitable for everyone. Before trying out a new exercise, it’s crucial to consider factors such as your flexibility, strength, and overall health to determine whether or not the exercise is appropriate for you. Like any exercise, there is inherent danger associated with it and it can potentially cause personal injury. It’s solely the responsibility of the exerciser to bear any injury sustained from the proper or improper use of this exercise. World Fitness.Online and its partners cannot be held liable for any injury that occurs as a result of using this exercise and it’s strongly advised that you seek guidance from a professional healthcare provider before attempting any exercise or exercise program.
Facebook
Twitter
LinkedIn
Scroll to Top