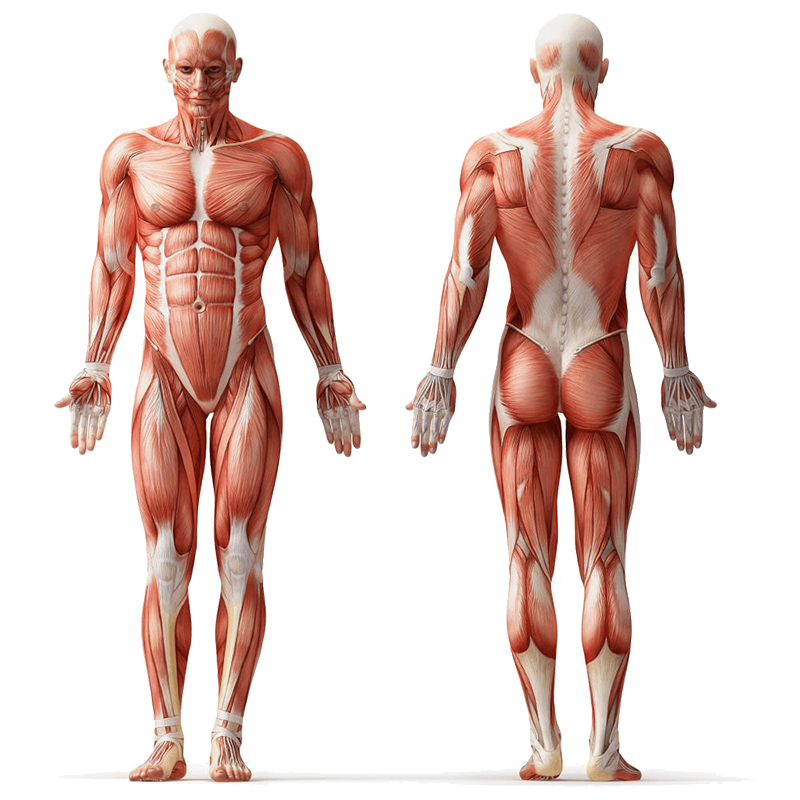
The Dumbbell One Arm Kickback, often called the Single-Arm Triceps Kickback, is a classic isolation move that zeroes in on the back of your upper arm. By hinging forward at the hips (or bracing one hand on a bench) and extending the elbow against gravity, you recruit all three heads of the triceps brachii (long, medial, and lateral heads). Meanwhile, your posterior deltoid (rear shoulder), core stabilizers, and forearm muscles help keep your torso steady. Whether you’re a beginner learning the mind-muscle connection or an intermediate lifter refining your arm definition, this straightforward exercise needs just a dumbbell (and optionally a bench) to build strength and tone your arms.
Safety Considerations
Before you kick back, make sure your space is clear and your weight is manageable. Warm up your shoulders, elbows, and wrists with light dynamic stretches or band pull-aparts. When you hinge at the hips, keep your spine neutra, no rounding or arching. If you use a bench for support, plant your hand and same-side knee firmly to avoid slipping. Control every repetition; swinging the weight places unnecessary strain on your elbow and lower back. If you feel sharp pain rather than a normal muscle burn, stop immediately. Note: Consult a fitness professional or healthcare provider if you have pre-existing conditions or experience discomfort during the exercise.
Step-by-Step Instructions
Follow these steps to perform the One-Arm Kickback with perfect form:
- Select a light to moderate dumbbell and stand beside a bench (or go without a bench for the standing version). Place your non-working hand and same-side knee on the bench, keeping the opposite foot on the floor for balance.
- Hinge forward at your hips until your torso is nearly parallel to the floor. Keep a slight bend in the supporting knee and maintain a straight line from head to tailbone. Engage your core throughout.
- Hold the dumbbell with a neutral grip (palm facing in) and pull your upper arm so it’s tucked close to your side. Your elbow should form about a 90° angle, this is your starting position.
- Without moving your upper arm, exhale and extend your forearm backward by straightening the elbow. Squeeze the triceps at the top of the movement, driving the weight until your arm is fully straight.
- Pause briefly at full extension to maximize the contraction, imagining you’re pushing the dumbbell as far behind you as possible without shrugging your shoulder.
- Inhale and slowly lower the dumbbell back to the 90° elbow-bend starting point, keeping constant tension on the triceps.
- Complete all reps on one side before switching arms, or alternate sides each rep if you prefer.
- For programming, aim for 3–4 sets of 10–15 reps per arm, choosing a weight that challenges you but allows strict form.
Tips for Proper Form
Use these pointers to maximize muscle activation and protect your joints:
- Pin the elbow close to your torso, avoid letting it drift outward and reduce triceps engagement.
- Keep your wrist in line with your forearm to prevent bending or twisting under load.
- Lead with your pinky finger side as you extend to emphasize the lateral head of the triceps.
- Engage your lats by imagining you’re pulling your elbow back before extending the arm.
- Breathe out on the extension and inhale on the return to maintain intra-abdominal pressure.
- Adopt a controlled tempo: one to two seconds lifting and two to three seconds lowering.
- Retract your shoulder blade slightly before each rep to keep your shoulder from shrugging.
- Keep your gaze toward the floor, maintaining a neutral neck and preventing strain.
Common Mistakes to Avoid
Watch out for these errors to ensure safe and effective reps:
- Swinging the dumbbell, which cheats the triceps and stresses joints.
- Rounding or overarching your back by losing core engagement.
- Allowing the elbow to flare away from your side, reducing isolation.
- Letting the elbow drop, which shortens the range of motion.
- Extending the arm past straight, risking joint hyperextension.
- Gripping the handle too tightly, causing tension in the forearm and shoulder.
- Lifting your head or looking forward, which can create neck tension.
- Skipping the pause at full extension, limiting muscle recruitment.
Primary Benefits
Here’s why you should include the One-Arm Kickback in your arm routine:
- Isolation for all three heads of the triceps brachii (long, medial, lateral) to sculpt a defined horseshoe shape.
- Joint-friendly movement with a neutral wrist position that minimizes stress on elbows and wrists.
- Improved pressing strength for bench press, overhead press, and push-ups.
- Corrects left-right muscle imbalances by training each arm individually.
- Core engagement from the hip hinge, strengthening abs and lower back stabilizers.
- Versatile setup that works with dumbbells, resistance bands, or bodyweight variations.
- Enhanced posture by strengthening posterior shoulder muscles that counteract rounded-shoulder posture.
- Simple progressions and regressions mean you can adjust intensity easily.
Dumbbell One Arm Kickback Regressions
If you’re new to this movement or rehabbing an injury, try these gentler options:
- Kneeling bench kickback: Perform the movement with both knees on the bench to reduce load.
- Resistance-band kickback: Use a light band anchored at waist height for gradual tension.
- Bodyweight triceps extension: On all fours, extend one arm back without any weight.
- Seated bench kickback: Sit on the edge of a bench and hinge forward to lessen core demand.
Dumbbell One Arm Kickback Progressions
When you’re ready to increase the challenge, try these variations:
- Slow-eccentric kickback: Lower the weight over four to five seconds for extra time under tension.
- Pause-at-top kickback: Hold the fully extended position for two to three seconds to deepen the burn.
- Double-dumbbell kickback: Stand without bench support and perform both arms at once for a core challenge.
- Incline bench kickback: Lie chest-down on an incline bench for a maximal triceps stretch and contraction.
Summary
The Dumbbell One-Arm Kickback is a highly effective isolation exercise that targets all heads of the triceps while sparing your joints. By maintaining a neutral spine, pinning your elbow, and moving with control, you’ll maximize muscle activation and minimize risk of injury. Use regressions to build confidence, then work through progressions as your strength and stability improve to keep your arm gains on track.
FAQs
How often should I perform Dumbbell One-Arm Kickbacks?
Train triceps one to two times per week, allowing at least 48 hours of rest between sessions for optimal recovery.
Should I use a bench or go free-standing?
A bench offers extra stability and reduces lower-back involvement, while free-standing variations challenge your core more.
What rep and set range is best?
Aim for three to four sets of 10–15 reps per arm. Use lighter weight and higher reps for endurance, or heavier weight and fewer reps for strength.
Can I work both arms at once?
Yes—holding two dumbbells and extending both arms simultaneously increases the core and balance demand.
How do I choose the right weight?
Select a weight that lets you complete all reps with strict form. If your torso rocks or your elbow drifts, drop the weight.
Is this exercise safe for people with elbow issues?
The neutral wrist grip is generally elbow-friendly, but if you feel discomfort, start with bands or bodyweight versions.
How does the kickback compare to overhead triceps extensions?
Kickbacks isolate the triceps via elbow extension behind the body, while overhead extensions combine elbow extension with shoulder flexion.
Can I superset kickbacks with other exercises?
Absolutely—pair them with dips or push-downs to hit the triceps from multiple angles and finish your arm workout strong.