
Banded Kneeling Side Kick

Video Demo, Instructions, Proper Form Tips, Common Mistakes, Benefits and FAQs
Exercise Profile

Target Muscles:

Glutes, Abductors

Secondary Muscles:

Core (Abdominals, Obliques), Lower Back, Hip Flexors

Exercise Type:

Strength, Balance

Equipment:

Resistance Band/Tube, Exercise Mat

Difficulty:

Beginner to Intermediate

Mechanics:

Compound
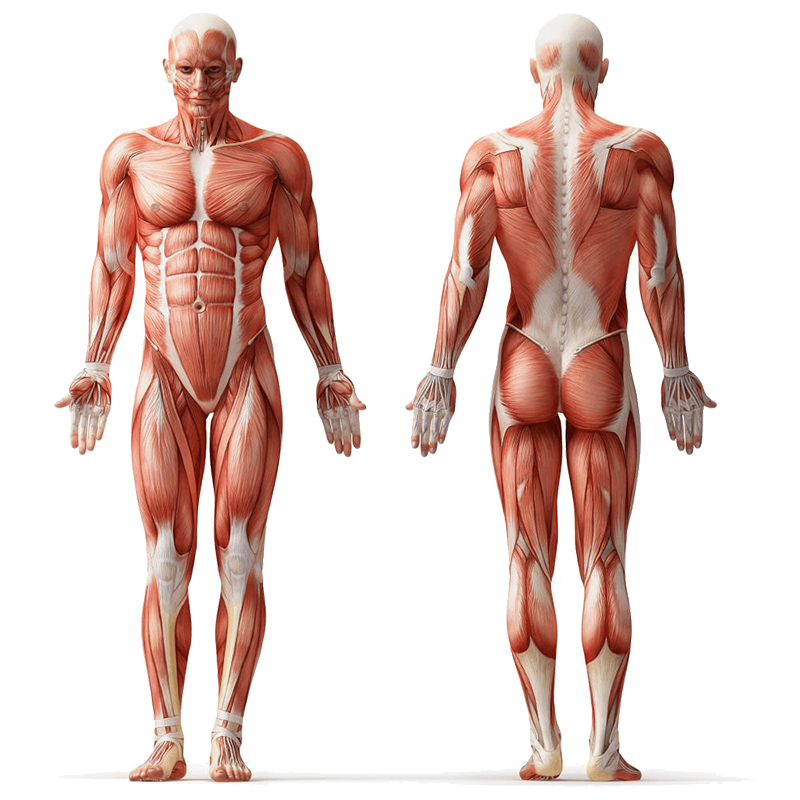
Muscle Anatomy

Banded Kneeling Side Kick a.k.a Kneeling Resistance Band Side Kick is a uniquely dynamic strength, balance, and stretching exercise that brings a fresh twist to your lower body routine. It’s a compound move that blends hip abduction with core and glute activation, all while kneeling and anchored by a resistance band. Using just a band and your bodyweight, this movement is ideal for beginners building strength and stability, as well as for intermediate fitness fans looking to add functional hip control work.

You'll feel it in your glutes and outer thighs (hip abductors), while your core including abdominals, obliques, and lower back stays locked in to keep you steady. Plus, it targets your hip flexors and improves balance. The kneeling position encourages a long spine and mindful alignment, making it both an efficient and graceful addition to your training.

Safety Considerations

Ensure your kneeling surface is cushioned, using a mat or soft ground to protect your knees. Warm up the hips and core before starting, especially with some dynamic leg swings or gentle hip circles. Keep your torso upright and avoid shifting weight unexpectedly during the kick. Manage band tension so that it challenges without compromising form. If you feel knee or hip pain, stop and reassess alignment and support.

Note: Consult a fitness professional or healthcare provider if you have pre existing conditions or experience discomfort during the exercise

Step-by-Step Instructions

Here’s how to perform the banded kneeling side kick safely and effectively:

  1. Start kneeling on one knee with the other leg bent at a right angle, placing the foot on the ground or hovering. Loop the resistance band around the ankle or just above the knee of the raised leg.
  2. Engage your core, draw your belly button in, and keep your back straight and spine long.
  3. From this stable base, control the elevated leg out to the side, keeping the knee slightly bent and the motion smooth.
  4. Lift the leg outward as high as comfort and flexibility allow, feeling tension along your glutes and outer thigh.
  5. Slowly return the leg to the starting position with control, not letting the band snap it back.
  6. Complete your desired repetitions, then switch sides.

Tips for Proper Form

Use these cues to stay balanced and effective:

  • Keep the pelvis level; don’t tilt or lean toward the working side.
  • Press your support hand or knee firmly into the ground for stability.
  • Maintain a long spine, neck aligned with your back.
  • Squeeze your glute as you lift to maximize engagement.
  • Move slowly on both the outward kick and return to maintain control.
  • Keep your core engaged and avoid arching your lower back.
  • Breathe steadily, exhaling during the kick and inhaling returning.

Common Mistakes to Avoid

Watch out for these pitfalls:

  • Allowing the torso to shift or lean toward the working side.
  • Using momentum instead of glute control to swing the leg.
  • Letting the band snap the leg back instead of controlling the return.
  • Allowing the pelvis to drop or hip to rotate.
  • Arching the lower back due to weak core engagement.
  • Using a resistance band that’s too tight or too light.
  • Locking the support knee without any shock absorption.

Primary Benefits

This exercise offers several valuable benefits:

  • Strengthens the glutes and outer thighs (hip abductors).
  • Improves hip stability and balance.
  • Engages core muscles for posture and control.
  • Enhances mobility and control in the hip joint.
  • Activates hip flexors in a functional pattern.
  • Minimal equipment, great for home or travel workouts.

Regressions

Try these easier modifications while you build strength:

  • Use no band, performing the movement with just bodyweight (side kick kneeling).
  • Reduce range of motion, kicking gently outward rather than high.
  • Perform from an all fours position (opposite knee and hand on ground) for extra stability.
  • Hold onto a stable surface (like a wall or chair) to steady your torso.

Progressions

Boost the challenge as you improve:

  • Use a stronger band to increase resistance.
  • Pause at the top of the kick to add an isometric hold.
  • Add pulses, making small up and down movements mid range.
  • Combine with a standing side kick after kneeling for added control training.

Summary

The Banded Kneeling Side Kick blends balance, core stability, and targeted glute activation into a smooth, effective movement. Using a resistance band, it isolates the glutes and outer thigh while challenging your hips and core to stay aligned and controlled. Whether you’re starting with bodyweight or progressing to added resistance and pulses, this move is a versatile addition to any routine. Just prioritize form, alignment, and gradual progression for maximum benefit.

FAQs

Can I feel it in my hips instead of glutes?

Yes, that’s common if the band is too high or tight. Try repositioning it lower, lighten resistance, and focus on lifting from your glutes with controlled motion.

How many reps should I do per side?

Start with 8–12 controlled reps per side. Increase slowly over time or add a pause or pulses when strength improves.

Is it normal to lose balance?

A little sway is normal, especially early on. Pressing into your support points and engaging your core will improve stability over time.

Can I do this without a band?

Absolutely. Performing the kneeling side kick without a band builds control and strength at your own pace.

Will this help with martial arts kicks?

Definitely. It strengthens your hip control and side kick chambers, which are critical for control, height, and technique.

Any joint precautions?

If you have knee or hip issues, cushion the kneeling area and reduce range of motion. If problems persist, consult a professional.

Disclaimer: It’s important to keep in mind that not all exercises are suitable for everyone. Before trying out a new exercise, it’s crucial to consider factors such as your flexibility, strength, and overall health to determine whether or not the exercise is appropriate for you. Like any exercise, there is inherent danger associated with it and it can potentially cause personal injury. It’s solely the responsibility of the exerciser to bear any injury sustained from the proper or improper use of this exercise. World Fitness.Online and its partners cannot be held liable for any injury that occurs as a result of using this exercise and it’s strongly advised that you seek guidance from a professional healthcare provider before attempting any exercise or exercise program.
Facebook
Twitter
LinkedIn
Scroll to Top