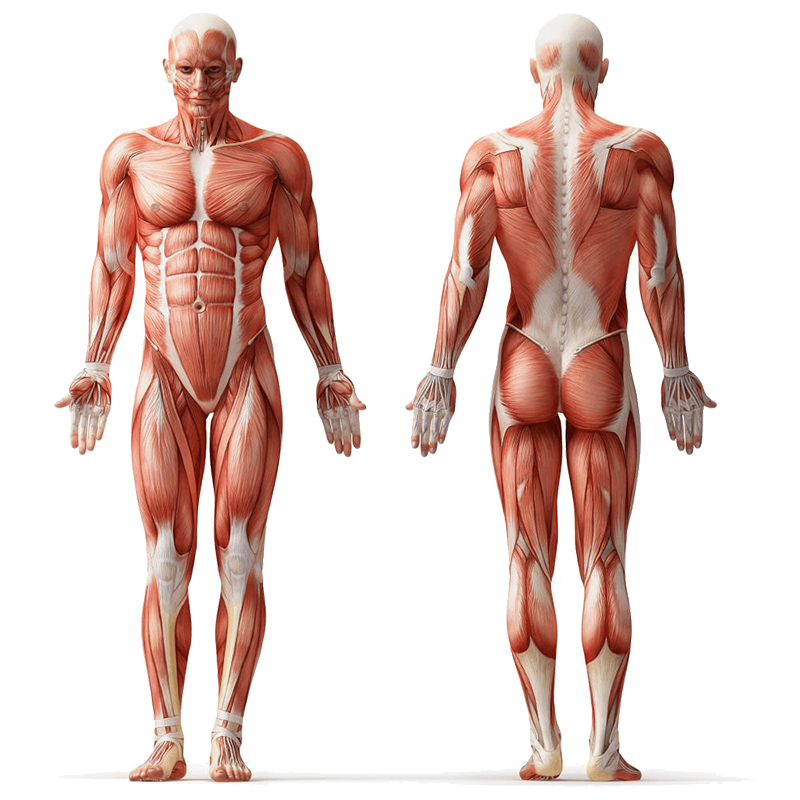
The Banded Kneeling Kickback—also known as a banded glute kickback from hands-and-knees—offers a muscle‑targeting isolation move that fires up the glutes with minimal knee stress. Performed on all fours, this exercise relies on a resistance band to create tension throughout the entire range of motion. It’s particularly effective for evening out side-to-side strength and improving hip extension mechanics. Ideal for beginners up to intermediate users, it requires only a loop band, your body, and a mat. Because it isolates the gluteus maximus (and also activates the gluteus medius), it’s a smart choice for glute development, functional mobility, and injury prevention.
Safety Considerations
Be sure to workout on a stable, cushioned surface and choose a band resistance that allows full control. Warm up your hips and glutes before starting. Maintain a neutral spine and avoid overarching your lower back or rounding your shoulders. Move with smooth control—don’t swing the leg. If wrists feel sensitive, drop to forearms.
Note: Consult a fitness professional or healthcare provider if you have pre‑existing conditions or experience discomfort during the exercise
Step-by-Step Instructions
Follow each step carefully to maximize effectiveness and avoid injury.
- Begin on all fours: hands under shoulders, knees under hips, spine straight, and core braced.
- Loop the resistance band securely around the arch of one foot and hold the other end under your hands or loop around a knee if needed.
- Keeping the working leg bent or straight depending on variation, flex the foot and extend the leg backward, squeezing the glute at the top.
- Pause for a beat, then lower the leg back down under control to hovering just above the floor.
- Complete all reps on one side before switching legs to maintain tension throughout.
- If you feel unstable, you can rest briefly between reps or switch to forearm support.
- Adjust the band tension as needed so resistance stays steady without sacrificing form.
Tips for Proper Form
Here are key cues to maintain alignment and effectiveness:
- Keep hips level and avoid twisting as you lift the leg.
- Brace your core to prevent excessive arching in the lower back.
- Flex your foot and lead with the heel for a cleaner glute squeeze.
- Use slow, controlled movement—like a piston—rather than momentum.
- Keep shoulders stable over wrists (or forearms), and avoid sinking into the spine.
- Breathe out as you kick back, inhale as you lower.
- If needed, use a lighter band and master control before increasing resistance.
Common Mistakes to Avoid
Watch for these form errors that reduce benefits or risk injury:
- Overextending the back instead of using the glute to lift.
- Allowing the leg to swing up diagonally rather than straight back.
- Using too heavy a band that causes jerky movement.
- Collapsing into the shoulders or sagging in the low back.
- Losing core engagement, allowing hips to rock or tilt.
- Dropping the working knee onto the surface between reps.
Primary Benefits
These are the main advantages of adding this exercise to your routine:
- Isolates the gluteus maximus and medius for targeted activation.
- Packed with constant resistance through both concentric and eccentric phases.
- Supports hip extension mechanics—useful for athletic performance like sprinting/jumping.
- Engages the core and lower back to maintain stability during each rep.
- Knee-friendly, making it accessible for rehabilitation or those avoiding load on joints.
- Improves muscle symmetry and addresses glute imbalances when performed unilaterally.
Regressions
If this exercise feels tough, start with these easier versions:
- Perform glute kickback without a band—focus on engaging the glute manually.
- Use a thinner, lighter resistance band until control is solid.
- Do the movement with a bent knee only (donkey kick style).
- Switch from hands to forearms for wrist or shoulder comfort.
Progressions
Once you’re comfortable, challenge yourself with these upgrades:
- Use a stronger resistance band or thicker band for more intensity.
- Perform straight-leg (extended) version for gluteus maximus emphasis.
- Add a pulse at the top of each kickback for extra burn.
- Hold at the top for 2–3 seconds before lowering to increase time under tension.
- Combine with side-lying or standing banded kickbacks for variation.
Summary
The Banded Kneeling Kickback is a focused isolation exercise that fires up the glutes using resistance bands. It prioritises targeted glute activation while minimizing knee joint stress, and simultaneously engages the core and lower back for stability. With scalability from beginner to intermediate levels, it’s a highly versatile movement for improving hip mechanics, symmetry, and functional strength.
FAQs
What should the band be looped around?
Place the resistance band around the arch of your working foot so it stays secure and taut during the kickback.
Is a bent or straight-leg version better?
Bent-knee (donkey-style) feels easier and can help activate the glute. Straight-leg version isolates the gluteus maximus more.
How many reps is recommended?
Try 12–15 controlled reps per side, 2–3 sets. Adjust based on band resistance and quality of movement.
Will this help with hip mobility?
Yes – it improves hip extension and flexibility when performed with full range and control.
Where should I place this in a workout?
As a glute isolation finisher or part of lower body/glute day—it’s great served after compound lifts.
Can I do this on both hands and forearms?
Yes—if your wrists are sore, using forearms helps reduce joint strain while maintaining core stability.