
Band One Leg Glute Bridge

Video Demo, Instructions, Proper Form Tips, Common Mistakes, Benefits and FAQs
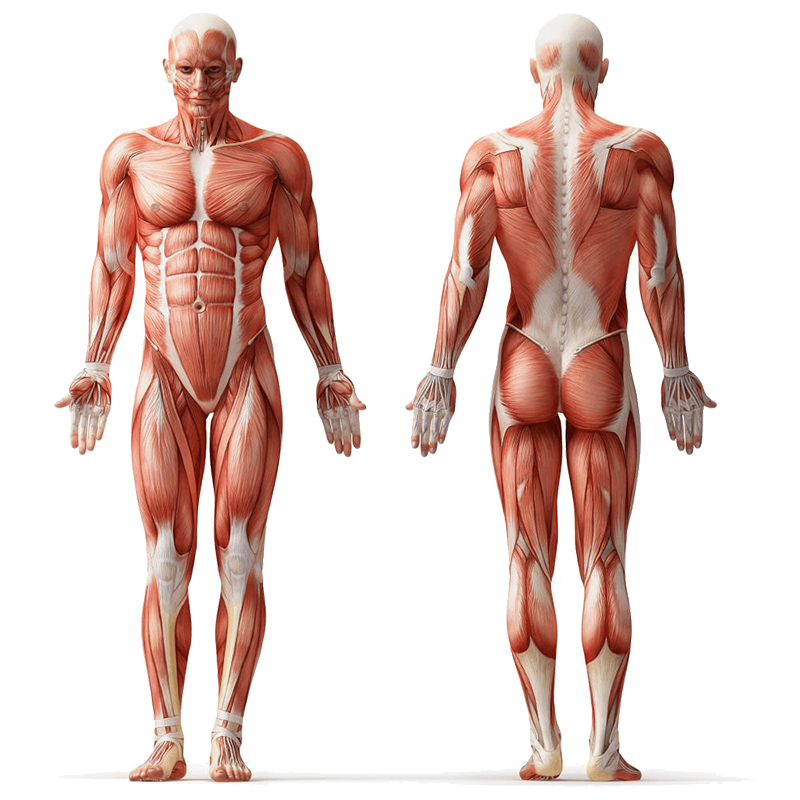
Exercise Profile

Target Muscles:

Glutes

Secondary Muscles:

Hamstring, Core, Lower Back

Exercise Type:

Strength, Balance

Equipment:

Resistance Band/Tube, Bodyweight

Difficulty:

Intermediate

Mechanics:

Compound
Muscle Anatomy

The Band One Leg Glute Bridge is a highly effective lower-body exercise that strengthens the glutes, hamstrings, and core while promoting hip stability and balance. By adding a resistance band, you increase the difficulty and activate the muscles more effectively. This unilateral (single-leg) variation of the traditional glute bridge challenges your balance and ensures both sides of the body work equally, helping to correct muscle imbalances and improve overall lower-body strength.

In this exercise, one leg performs the bridge while the other leg is extended, placing extra load on the working glute and hamstring. The band adds constant resistance, ensuring that the muscles remain engaged throughout the movement. It’s a great choice for athletes, fitness enthusiasts, or anyone aiming to strengthen their posterior chain, improve hip stability, and enhance functional movement. Because it targets multiple muscle groups while focusing on one side at a time, it also helps build better coordination and injury resilience.

Safety Considerations

As with any unilateral exercise, it’s important to maintain proper form and balance. Perform the exercise on a stable, non-slip surface like a yoga mat. Keep your core engaged to protect your lower back and avoid overarching the spine. If you feel discomfort in the knees or lower back, reduce the range of motion or try the standard two-leg glute bridge first. Use a resistance band that matches your strength level—too heavy a band can compromise form.

Note: Consult a fitness professional or healthcare provider if you have pre-existing conditions or experience discomfort during the exercise.

Step-by-Step Instructions

Here’s how to perform the Band One Leg Glute Bridge correctly:

  1. Lie flat on your back with knees bent and feet flat on the floor, hip-width apart.
  2. Loop a resistance band just above your knees.
  3. Lift one leg off the ground and extend it straight forward.
  4. Press through the heel of your supporting leg to lift your hips off the ground.
  5. Engage your glutes and core, driving hips upward until your body forms a straight line from shoulders to knees.
  6. Pause at the top, squeezing your glutes.
  7. Lower hips back down with control, keeping the extended leg elevated.
  8. Repeat for the desired reps, then switch legs.

Tips for Proper Form

Maximize the effectiveness of this exercise with these tips:

  • Keep your extended leg straight and steady throughout.
  • Drive through the heel of your working leg, not the toes.
  • Engage your core to prevent lower back strain.
  • Lift hips only as high as you can without overarching the spine.
  • Maintain resistance in the band by keeping knees slightly apart.
  • Perform reps slowly to maintain constant tension on glutes and hamstrings.

Common Mistakes to Avoid

Avoid these common mistakes when performing Band One Leg Glute Bridges:

  • Using momentum instead of controlled muscle engagement.
  • Letting the hips drop unevenly during the lift.
  • Arching the lower back excessively at the top.
  • Allowing the band to slack, reducing glute activation.
  • Dropping the extended leg instead of keeping it steady.
  • Placing feet too close or too far from the glutes, causing knee strain.

Primary Benefits

The Band One Leg Glute Bridge offers multiple benefits:

  • Strengthens glutes, hamstrings, and core muscles.
  • Improves hip stability and mobility.
  • Corrects muscle imbalances by training one side at a time.
  • Activates posterior chain muscles crucial for athletic performance.
  • Enhances functional movement and balance.
  • Increases resistance and engagement with minimal equipment.

Regressions

If this variation is too difficult, try:

  • Performing a two-leg glute bridge with a resistance band.
  • Removing the band for less resistance.
  • Reducing the height of hip lift until stronger.
  • Trying bodyweight hip thrusts instead for foundational strength.

Progressions

To make the exercise more challenging, try:

  • Using a stronger resistance band.
  • Holding the top position for 2–3 seconds for isometric contraction.
  • Adding a weight plate or dumbbell across hips for extra resistance.
  • Performing on an elevated surface like a bench for greater range of motion.

Summary

The Band One Leg Glute Bridge is an intermediate lower-body exercise that builds strength in the glutes, hamstrings, and core while improving hip stability and balance. Using a resistance band ensures constant tension, making the move more effective for muscle activation. With regressions for beginners and progressions for advanced lifters, it’s a versatile exercise that supports better movement, posture, and athletic performance.

FAQs

Here are common questions about the Band One Leg Glute Bridge:

What muscles does this exercise target?

Mainly the glutes, with additional work from hamstrings, core, and lower back.

Is this exercise beginner-friendly?

It’s better suited for intermediates, though beginners can try two-leg bridges first.

Do I need a resistance band?

A band increases effectiveness, but bodyweight-only versions are also possible.

Can I add weights?

Yes, placing a dumbbell or plate on your hips increases resistance.

How many reps should I do?

8–15 reps per leg for 2–3 sets is effective.

What are the main benefits?

It builds glute strength, improves hip stability, corrects imbalances, and enhances athletic movement.

Disclaimer: It’s important to keep in mind that not all exercises are suitable for everyone. Before trying out a new exercise, it’s crucial to consider factors such as your flexibility, strength, and overall health to determine whether or not the exercise is appropriate for you. Like any exercise, there is inherent danger associated with it and it can potentially cause personal injury. It’s solely the responsibility of the exerciser to bear any injury sustained from the proper or improper use of this exercise. World Fitness.Online and its partners cannot be held liable for any injury that occurs as a result of using this exercise and it’s strongly advised that you seek guidance from a professional healthcare provider before attempting any exercise or exercise program.
Facebook
Twitter
LinkedIn
Scroll to Top