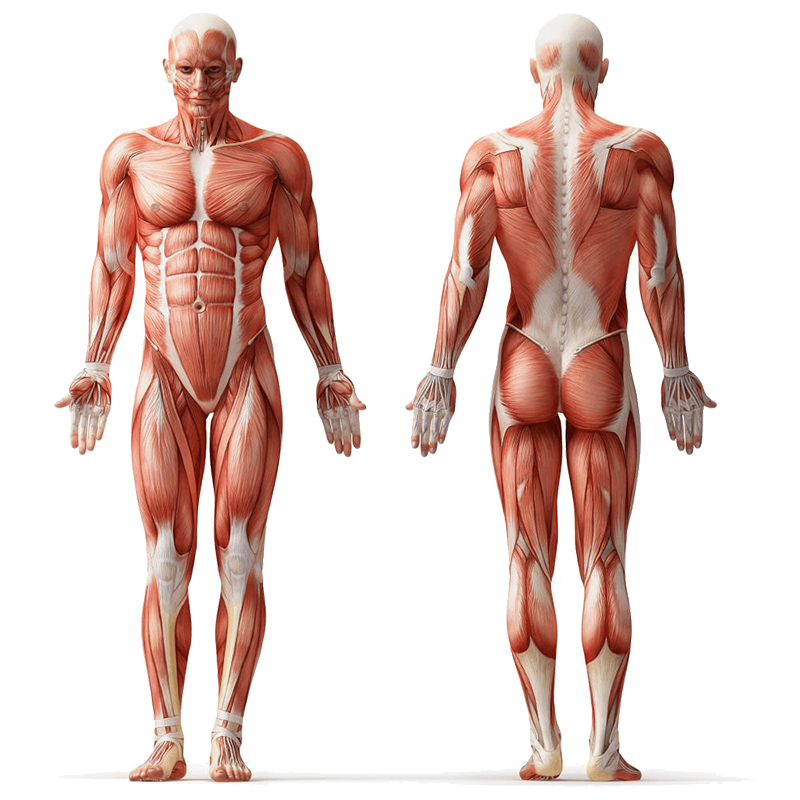
The Band Lying Back Abduction (a.k.a. Supine Banded Hip Abduction, Long-Lever Supine Hip Abduction) is a supine hip exercise performed while lying on your back with a resistance band looped around the ankles and the legs kept straight. It is a strength-focused, isolation movement that opens the legs away from the midline of the body, placing the work squarely on the hip abductors: the gluteus medius (glute medius), gluteus minimus (glute minimus), and tensor fasciae latae (TFL). Because the band sits at the ankles and the knees stay straight, the lever is long, which increases the challenge compared with band placement above the knees.
Expect subtle but intense lateral-hip activation with helpful carryover to knee tracking, single-leg balance, and gait. This variation fits beginners through intermediates, depending on band tension, and only requires a loop band and a mat. Clear, clinician-style instructions for the exact setup described here are found in trusted rehab references that teach resisted hip abduction in supine with a band around the ankles and straight legs.
Safety Considerations
Before you stretch the band for your first rep, set up your space and body so you can move smoothly and comfortably.
- Choose a non-slip mat and lie on a firm surface so your pelvis stays steady.
- Warm up with 3 to 5 minutes of light lower-body mobility such as hip circles, marching in place, or easy bridges to increase blood flow.
- Place the band so it lies flat around your ankles without twisting. Start with a light to medium band if you are new to the movement.
- Keep a neutral spine. Imagine gently zipping your ribcage toward your pelvis to brace your core and avoid arching the lower back as your legs separate.
- Move only through a comfortable range, typically about 15 to 30 degrees, and prioritize control over how far your legs travel.
- Stop if you feel pinching in the front of the hip, sharp pain, or symptoms that travel down the leg. Regress the difficulty or consult a professional.
Note: Consult a fitness professional or healthcare provider if you have pre-existing conditions or experience discomfort during the exercise.
Step-by-Step Instructions
Let these steps guide you from setup to the final rep so the right muscles do the work.
- Lie on your back on a mat. Loop a resistance band around both ankles so there is light tension before you start. Place your arms by your sides with palms down for light support. Keep both legs straight and together, toes pointing up.
- Set your alignment: draw your lower ribs down, brace your midsection, and keep your pelvis level. Your neck and head rest comfortably on the floor.
- Inhale to prepare. As you exhale, press both legs apart at the hips, keeping your knees straight and your toes facing the ceiling. Think of reaching through your heels while the legs glide out to the sides.
- Open to a controlled range that you can achieve without your lower back arching or your pelvis tipping. A small to moderate arc is enough when tension stays in the side glutes.
- Pause for 1 to 2 seconds. Feel the gluteus medius and minimus on the outer hips doing the work. Keep the front of the hips relaxed.
- Inhale as you slowly bring your legs back together against the band until your feet are hip-width apart, keeping some tension on the band at the bottom so it never goes slack.
- Repeat for the prescribed reps, then rest. Typical programming is 2 to 3 sets of 10 to 15 controlled reps. Increase band resistance only when you can keep flawless form.
Tips for Proper Form
Use these practical cues to keep the load on the abductors and off the lower back.
- Keep the legs fully straight to maintain the long lever that makes this version effective. If your back arches, shorten the range slightly.
- Point your toes straight up rather than outward. This reduces external rotation compensation and focuses the work on the lateral hip.
- Maintain gentle tension on the band at the bottom of each rep to avoid a jerky start.
- Think “heels away” as the legs open to promote length and prevent hip hiking.
- Press your arms lightly into the floor for stability but avoid pushing your upper body to generate momentum.
- Move at a slow, even tempo: about 2 seconds out, brief hold, 2 to 3 seconds in.
- If you feel the front of the hips working more than the side glutes, reduce the range and double-check that your toes point up and your ribs stay down.
Common Mistakes to Avoid
Steer clear of these pitfalls so each rep targets the right muscles.
- Arching the lower back as the legs separate. Solution: brace gently and slightly tuck the tailbone to keep the pelvis neutral.
- Letting the band snap the legs back together. Solution: control the return and keep the band under constant tension.
- Turning the toes outward. Solution: keep toes up and kneecaps pointing to the ceiling to minimize rotation.
- Opening the legs too far and losing pelvic control. Solution: stay within a pain-free, controlled range, often near 20 degrees.
- Bending the knees to make it easier. Solution: keep the long lever for consistent loading, or intentionally regress if needed.
- Using too heavy a band early on. Solution: pick the lightest band that still lets you feel the side glutes burn by rep 10 to 15.
Primary Benefits
Here is what you gain when you practice this movement consistently.
- Strengthens the gluteus medius and gluteus minimus (outer glutes) and the tensor fasciae latae for better lateral hip control.
- Improves pelvic stability and helps guide proper knee alignment during squats, lunges, running, and daily steps.
- Builds frontal-plane control that supports single-leg balance and change-of-direction tasks.
- Gently reinforces core engagement by requiring the trunk to stay steady while the legs move.
- Low-impact, joint-friendly option that fits rehab, warm-ups, or accessory work with minimal equipment.
- Progressive overload is simple to apply by changing band thickness or tempo for continual strength gains.
Regressions
If you need something more forgiving, pick one of these easier setups.
- Place the band above the knees to shorten the lever and reduce torque.
- Use a lighter band and limit the opening range to what you can control.
- Practice isometric holds: open a few inches and hold for 10 to 20 seconds.
- Bend the knees slightly while keeping feet together to decrease lever length.
- Perform one-leg-at-a-time abductions while the other leg stays parked at midline.
- Do “hooklying” band abductions with knees bent and feet flat before progressing to straight-leg abductions.
Progressions
Ready to turn it up a notch? These options add challenge without changing the core pattern.
- Use a thicker or shorter band for more resistance.
- Add a 2 to 3 second pause at full abduction on every rep.
- Slow the return phase to 3 to 4 seconds for eccentric emphasis.
- Add light ankle weights in addition to the band.
- Move to a hollow-body brace while you abduct to increase trunk demand.
- Combine with a hip bridge by lifting the hips first, then performing abductions to tax glutes and core together.
Summary
Band Lying Back Abduction is a simple, focused way to strengthen the lateral hip while lying on your back. With a loop band around the ankles and straight legs, you open and close the legs under steady control, targeting the gluteus medius and minimus and improving pelvic and knee stability. Start light, keep your range honest, and build difficulty through band tension, tempo, or holds. This accessible isolation drill fits warm-ups, rehab, and accessory work and can make a noticeable difference in balance, knee tracking, and overall hip health.
FAQs
Which muscles does Band Lying Back Abduction work?
Primarily the gluteus medius and gluteus minimus, with help from the tensor fasciae latae. Core stabilizers assist by keeping the pelvis steady.
How much should I open my legs on each rep?
A small to moderate arc is enough, often around 15 to 30 degrees, as long as you feel the effort at the outer hips and maintain control.
How many sets and reps are best?
Begin with 2 to 3 sets of 10 to 15 controlled reps. Increase resistance only when you can maintain form throughout.
Where should I place the band?
Around the ankles for this long-lever version. Moving the band above the knees makes it easier and is a good regression if your back arches or form breaks down.
Can I do this if my hips feel tight?
Yes, but warm up first and keep the range comfortable. If pain persists or radiates, stop and consult a clinician.
When should I use this in a workout?
Use it early as an activation drill before squats or runs, or late in the session as accessory work to build endurance in the abductors.
What if I only feel the front of my hips working?
Point the toes up, reduce range, and focus on bracing the core. You should feel the outer glutes more than the hip flexors.