Band High Plank March, also known as the banded plank psoas march, is a dynamic core stability drill that blends strength and balance work in a simple high plank. With a small looped resistance band placed around both feet, you alternate marching one knee toward your chest while holding a strong plank. This turns a classic isometric hold into a controlled, anti-rotation challenge.
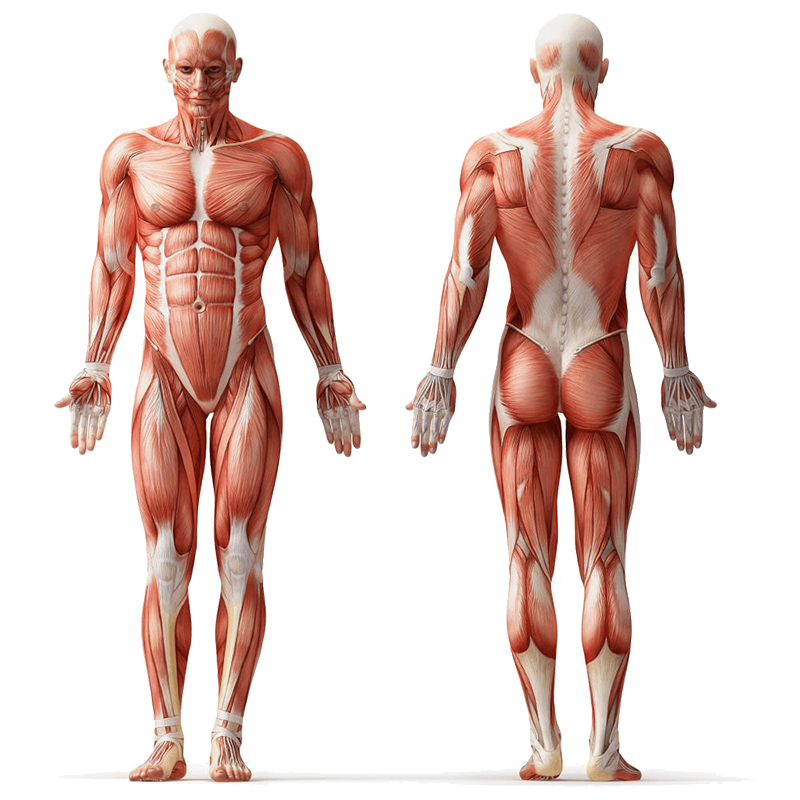
Your Core, Abdominals, and Obliques do most of the stabilizing, while your Shoulders, Chest, and Triceps keep you propped up. Hips and Hip Flexors help drive each knee lift, and your Glutes assist in preventing your pelvis from tipping. It is a compound movement that suits beginner to intermediate lifters who want more than a static plank without needing extra equipment beyond a mini band. If you are chasing better trunk control for lifting, running, or everyday posture, this one checks a lot of boxes.
Safety Considerations
Before you start, set yourself up for success with a stable surface, a band that is not too tight, and a thoughtful warm up.
- Warm-up first: Spend 3 to 5 minutes on gentle wrist circles, cat-cows, and a few slow bodyweight planks to wake up shoulders, Core, and Hips.
- Choose the right band: Use a light to medium loop so you can march smoothly without losing your plank alignment.
- Protect the wrists and shoulders: Stack hands right under the shoulders and spread your fingers. If wrists complain, perform the move on push-up handles or dumbbells to keep wrists neutral.
- Spine position: Keep a long line from head to heels. Avoid looking forward. Keep your gaze slightly ahead of your hands to maintain a neutral neck.
- Pain-free range: Only lift the knee as high as you can without rounding the low back or hiking a hip.
- Breathing: Breathe gently throughout. Do not hold your breath, as bracing too hard without breathing can raise blood pressure.
Note: Consult a fitness professional or healthcare provider if you have pre-existing conditions or experience discomfort during the exercise.
Step-by-Step Instructions
Follow these steps to nail the setup, the march, and the breathing rhythm.
- Band setup: Loop a mini resistance band around both feet so it sits across your midfoot or just above the arches. Make sure it lies flat and is not twisted.
- Plank start: Place your hands on the floor under your shoulders, arms straight, fingers spread. Step both feet back to a high plank with feet about hip width apart.
- Full-body alignment: Engage your Core by gently drawing ribs down and bracing your Abdominals. Squeeze Glutes lightly, keep your Pelvis level, and press the floor away through your hands so your Shoulder blades are stable.
- First march: Keeping the band taut, drive your right knee toward your chest without rounding your lower back. Pause briefly when your thigh is roughly perpendicular to the floor or when you feel tension in your Hip Flexors.
- Return with control: Lower the right foot back to the start position under tension, preventing your Hips from dropping or twisting.
- Second march: Repeat on the left side, bringing the knee forward with the same range and control.
- Breathing rhythm: Inhale in the plank, exhale gently as you lift a knee, and inhale again as you return the foot.
- Set and volume: Continue alternating legs for the prescribed reps or time, moving steadily while keeping shoulders quiet and Hips level.
Tips for Proper Form
Use these cues to keep your plank rock solid and the march crisp.
- Press the floor away to keep your Shoulder blades stable and your Chest slightly lifted, reducing stress on the wrists.
- Think zipper from pubic bone to ribcage to maintain a firm Core without arching or rounding your low back.
- Keep the Pelvis square to the floor. Imagine headlights on your hips that always point straight down.
- Dorsiflex the marching foot, pulling your toes toward your shin, to improve band control and Hip Flexor activation.
- Move slowly on the way in and on the way back. The return is where many people lose tension and let the band snap.
- Set the feet slightly wider if you feel wobbly. A wider base improves anti-rotation stability.
- If your neck tires, make your torso long and gaze to the floor about a foot ahead of your hands rather than looking up.
- Squeeze Glutes lightly throughout to stop your lower back from sagging as you march.
Common Mistakes to Avoid
These pitfalls often slip in when fatigue sets in. Stay aware and correct them early.
- Sagging lower back: Arching through the lumbar spine takes tension off the Abdominals and can irritate the back. Re-engage Core and Glutes or raise your hands on a box to regress.
- Hip swing or rotation: Letting one side of the Pelvis drop during the march reduces effectiveness. Widen your stance and slow down.
- Short, choppy breaths: Breath holding increases tension and can spike blood pressure. Match each knee lift with a calm exhale.
- Overstriding the knee: Pulling the knee too high usually rounds the low back. Stop when your spine starts to flex.
- Band too heavy: A band that is too stiff forces compensations. Choose a lighter loop and build up.
- Hands too far forward: This dumps weight into the shoulders. Stack wrists under shoulders and spread your fingers.
Primary Benefits
Expect these payoffs when you practice the Band High Plank March consistently.
- Stronger anterior core: The Abdominals and Obliques resist extension and rotation, boosting trunk stability.
- Hip flexor control: Each march strengthens the Psoas and surrounding Hip Flexors while teaching you to move the leg without tipping the Pelvis.
- Shoulder stability: Isometric loading trains the Rotator Cuff, Serratus Anterior, and Trapezius to support the shoulder girdle.
- Glute co-contraction: Light Glute activation helps lock the Pelvis in place for better force transfer.
- Anti-rotation resilience: The band tension tries to twist you. Resisting that improves real-world strength for carries, running, and lifting.
- Minimal equipment convenience: A single mini band makes this travel friendly and easy to slot into warm ups or circuits.
Regressions
Scale the movement so you can maintain perfect alignment and steady breathing.
- High plank hold without band, focusing on a neutral spine for timed sets.
- Elevated high plank march with hands on a bench or box to reduce load.
- Knee-only taps: in a high plank, lightly slide one foot forward a few inches without lifting the knee high.
- Quadruped banded knee drives with hands under shoulders and knees under hips to practice core bracing.
- Forearm plank march without band to reduce wrist stress and resistance.
- Standing band march with the loop around both feet to groove the knee drive pattern upright.
Progressions
When form is locked in, use these variations to level up the challenge.
- Heavier mini band around both feet while keeping the same marching range.
- Slow tempo march with 2 to 3 second pauses at the top of each knee lift.
- Long lever plank march with hands slightly forward of shoulders while keeping ribs down.
- Alternating march to cross-body knee: bring the knee toward the opposite elbow without rounding the back.
- March plus shoulder tap: lift the knee, set it down, then tap the opposite shoulder before switching sides.
- Time-under-tension sets: accumulate total work time, for example 30 to 45 seconds of continuous, controlled reps.
Summary
Band High Plank March turns a familiar plank into a powerful stability drill by adding a mini band around both feet and marching one knee at a time. It challenges the Core, Abdominals, and Obliques to resist motion while the Shoulders and Hip Flexors coordinate smooth knee drives. Start with a manageable band, keep Hips level, and move slowly. Use regressions if alignment slips, and progress to pauses, heavier bands, or integrated shoulder taps as you improve. This simple tool delivers big returns for posture, lifting, and athletic carryover.
FAQs
Quick answers to the questions people ask most about this move.
Where should the band go for Band High Plank March?
Loop a mini band around both feet so it lies across the midfoot. This placement resists the march without sliding up the ankles.
What muscles does Band High Plank March work?
Primarily the Core, Abdominals, and Obliques. Secondary support from Shoulders, Chest, Triceps, Hip Flexors, and Glutes.
How many reps or how long should I do it?
Begin with 2 to 3 sets of 20 to 40 seconds or 6 to 8 marches per leg, keeping every rep smooth and controlled.
Is this safe for my lower back?
Yes when done with a neutral spine. If your back arches or rounds, regress to an easier option like an elevated plank and choose a lighter band.
Can I do it in a warm up?
Absolutely. It primes core stability and hip control. Use shorter sets with easier bands in warm ups, and heavier bands in main work.
What if my wrists hurt?
Use push-up handles or dumbbells to keep wrists neutral, or switch to a forearm plank variation.