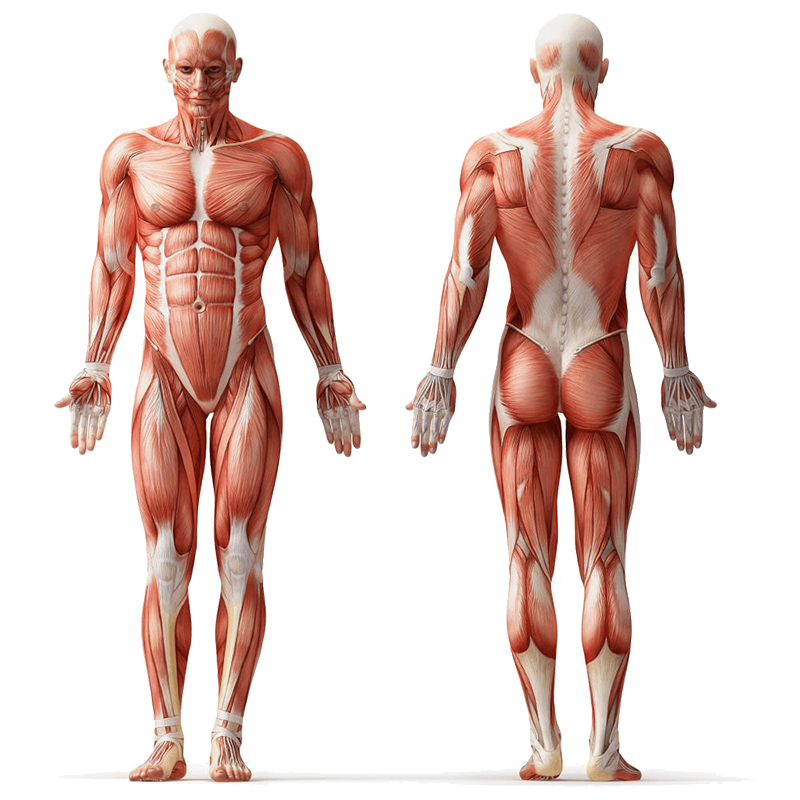
The Standing Cross-Leg Hamstring Stretch, also known as the Standing Crossed-Leg Hamstring Stretch or Crossover Standing Forward Bend, is a simple flexibility move that targets the hamstrings while gently involving the calves and lower back. Performed standing with one leg crossed over the other, it uses a hip hinge and a forward fold to lengthen the back of the thighs. You need no equipment other than your own bodyweight, which makes this an easy add-on to warm ups, cool downs, or mid day mobility breaks.
Most people will find it beginner to intermediate friendly, yet it remains useful for seasoned lifters, runners, and desk workers who want reliable posterior chain relief. Compared with a basic forward fold, the crossed leg setup creates a slightly different line of tension that many feel along the outer hamstrings and the side of the hips, offering a more focused stretch without complicated setup.
Safety Considerations
Before you get into position, a few quick checks will help you stretch safely and comfortably.
- Warm up briefly first. A short walk, marching in place, or gentle leg swings for 2 to 3 minutes can raise tissue temperature and make the stretch feel smoother.
- Choose stable footing. Perform the stretch on a nonslip surface and, if balance is uncertain, stand near a wall or chair for light fingertip support.
- Hinge from the hips. Keep your spine long as you fold forward, avoiding a rounded lower back. Think chest moving toward thighs rather than head reaching for the floor.
- Ease into tension. You should feel a gentle pulling in the back of the front leg’s thigh. Back off if you feel sharp pain, pinching, or tingling.
- Protect the knees. Keep both knees soft rather than locked. If the back of the knee feels strained, add a slight bend to the front knee.
- Breathe steadily. Slow nasal inhales and relaxed mouth exhales help reduce bracing and allow the muscles to lengthen.
- Existing issues. If you have a recent hamstring strain, sciatic irritation, or lower back pain, reduce range, modify with support, or select a gentler variation.
Note: Consult a fitness professional or healthcare provider if you have pre-existing conditions or experience discomfort during the exercise.
Step-by-Step Instructions
Follow these cues to learn the movement and feel the stretch in the right places from your very first rep.
- Stand tall with feet hip width and weight balanced across the whole foot. Draw your ribcage gently down and lengthen the back of your neck.
- Cross your right foot over your left so the right toes line up slightly in front of the left toes. Distribute weight evenly between both feet. If balance is tricky, lightly rest one hand on a wall or the back of a chair.
- Set your posture. Soften both knees, tip your pelvis forward, and brace your core lightly as if zipping up tight jeans.
- Hinge at the hips. Push your hips back and fold your torso forward while keeping your spine long. Think about reaching your sit bones behind you rather than collapsing downward.
- Let your arms hang, place hands on shins, or rest fingertips on a block or the seat of a chair in front of you. Keep your chest open and shoulders away from your ears.
- Find the stretch. You should feel a gentle to moderate pull along the back of the front leg’s thigh and possibly the outer hamstring and calf. Adjust by micro bending or straightening the front knee until the sensation feels targeted but comfortable.
- Hold the stretch for 20 to 30 seconds while breathing slowly. With each exhale, allow your hips to tip a touch more only if tension eases.
- To rise, press your feet into the floor, engage your glutes and core, and hinge back up to standing with a straight back rather than rolling up.
- Uncross the legs, reset your posture, and repeat with the left foot crossed over the right.
Tips for Proper Form
These practical tweaks help you personalize the stretch and keep stress off sensitive areas.
- Focus on the hip hinge first, then depth. A small hinge with a long spine beats a deep fold with a rounded back.
- Keep the front foot slightly ahead of the back foot to avoid crowding the ankles and to improve balance.
- If you feel it only in your lower back, come up a little, bend the knees slightly, and aim your tailbone up to tilt the pelvis forward.
- Use elevation for comfort. Place fingertips on a yoga block, low step, or chair seat to reduce strain while keeping alignment solid.
- Breathe on a rhythm. Try a 4 second inhale and a 6 second exhale to encourage muscle relaxation.
- Explore micro adjustments. Turn the front toes a few degrees in or out or shift your hips a centimeter left or right to find your best line of stretch.
- Protect the hamstring if tight or tender by keeping a small bend in the front knee and gradually straightening only as tissues allow.
- Maintain even pressure through the whole foot, especially the heel, to keep tension out of the toes and arches.
Common Mistakes to Avoid
Watch for these frequent errors and use the noted fixes to get more from each rep.
- Rounding the lower back. Fix it by lifting the chest slightly and aiming the sit bones back to reestablish a hip hinge.
- Locking the knees straight. Keep a soft bend to protect the joint and shift the stretch into the muscle belly.
- Bouncing at end range. Hold steady and breathe rather than pulsing, which can irritate tissues and reduce effectiveness.
- Letting the front foot spin outward excessively. Keep toes mostly forward so the hamstrings, not just the outer hip, receive the stretch.
- Forgetting to breathe. Pair long exhales with tiny releases of tension to deepen the stretch safely.
- Going too deep too fast. Ease in, and stop at a moderate pull rather than seeking discomfort.
- Ignoring balance. If you wobble, use a wall or chair for support to keep the stretch focused.
Primary Benefits
This stretch delivers more than looser hamstrings when practiced consistently and thoughtfully.
- Lengthens the hamstrings for improved flexibility that carries over to squats, deadlifts, and running stride.
- Provides a gentle release for the calves and the back of the knees, often tight from daily standing or long walks.
- Encourages a healthier hip hinge pattern that supports safer lifting mechanics in the gym and daily life.
- Can help ease feelings of posterior chain tightness after sitting, driving, or air travel.
- May reduce strain on the lower back by improving hamstring extensibility and pelvic positioning.
- Requires no equipment, making it easy to practice anywhere in short, frequent sessions.
- Promotes body awareness and balance due to the single crossover stance.
Regressions
If the standard version feels too intense today, try one of these easier options to build comfort and control.
- Uncrossed standing hamstring hinge with one heel on the floor in front and hands on thighs for support.
- Crossed legs but hands on a chair seat or countertop to reduce depth and maintain spinal alignment.
- Crossed legs with a bigger knee bend in both legs to soften the pull behind the knee.
- Seated cross-leg hamstring fold on a bench, keeping the spine long and using hands on the bench for support.
- Supine strap hamstring stretch with a yoga strap or towel to control range without loading the back.
- Shorter hold times, such as 10 to 15 seconds, repeated more often.
Progressions
When the base version feels comfortable and controlled, progress gradually with these challenges.
- Arms overhead as you hinge to increase the lever length and demand more core control.
- Crossed leg forward fold with hands clasped behind the back to add a chest and shoulder opening element.
- Deeper hinge with straighter knees while keeping the spine long and hips square.
- Crossed leg forward fold with a slight lateral reach of the torso toward the front leg to bias the outer hamstrings.
- Elevate the front heel on a thin plate or book to shift more emphasis to the hamstrings and calves.
- Longer holds of 30 to 45 seconds if tissues tolerate the added duration.
Summary
The Standing Cross-Leg Hamstring Stretch is a bodyweight, beginner to intermediate friendly flexibility move that lengthens the hamstrings while gently involving the calves and lower back. By crossing one foot over the other and hinging from the hips, you create a targeted line of tension without complicated setup. Keep your spine long, use support if needed, and ease into a comfortable pull. Practiced consistently, this stretch can improve hip hinge mechanics, relieve posterior chain tightness, and support better performance in daily movement and training.
FAQs
Curious about how often, how long, and where this stretch fits in your routine? Start with the answers below.
What muscles does the Standing Cross-Leg Hamstring Stretch target?
It primarily targets the hamstrings while secondarily affecting the calves, glutes, and lower back muscles such as the erector spinae.
How long should I hold each stretch?
Hold for 20 to 30 seconds per side, repeating 2 to 3 rounds. Beginners can start with 10 to 15 second holds and build up over time.
When is the best time to do this stretch?
Use it after workouts or during cool downs for longer holds. For warm ups, keep holds shorter and gentle, or use dynamic leg swings first.
Is it safe if I have tight hamstrings or mild lower back stiffness?
Yes, provided you hinge from the hips, avoid rounding the lower back, and keep a small knee bend. If symptoms worsen, switch to a supported variation or consult a professional.
How should I breathe during the stretch?
Inhale through the nose to lengthen the spine, then exhale slowly through the mouth to relax into the stretch without forcing depth.
What if I struggle with balance?
Stand next to a wall or hold a chair lightly. You will still benefit from the stretch while keeping wobble to a minimum.
Can I overdo this stretch?
Yes. Avoid aggressive tugging or bouncing. Aim for a comfortable pull and stop if you feel sharp pain, numbness, or tingling.